Step-by-Step: How to Properly Level and Prep the Ground for a Heavy Fountain

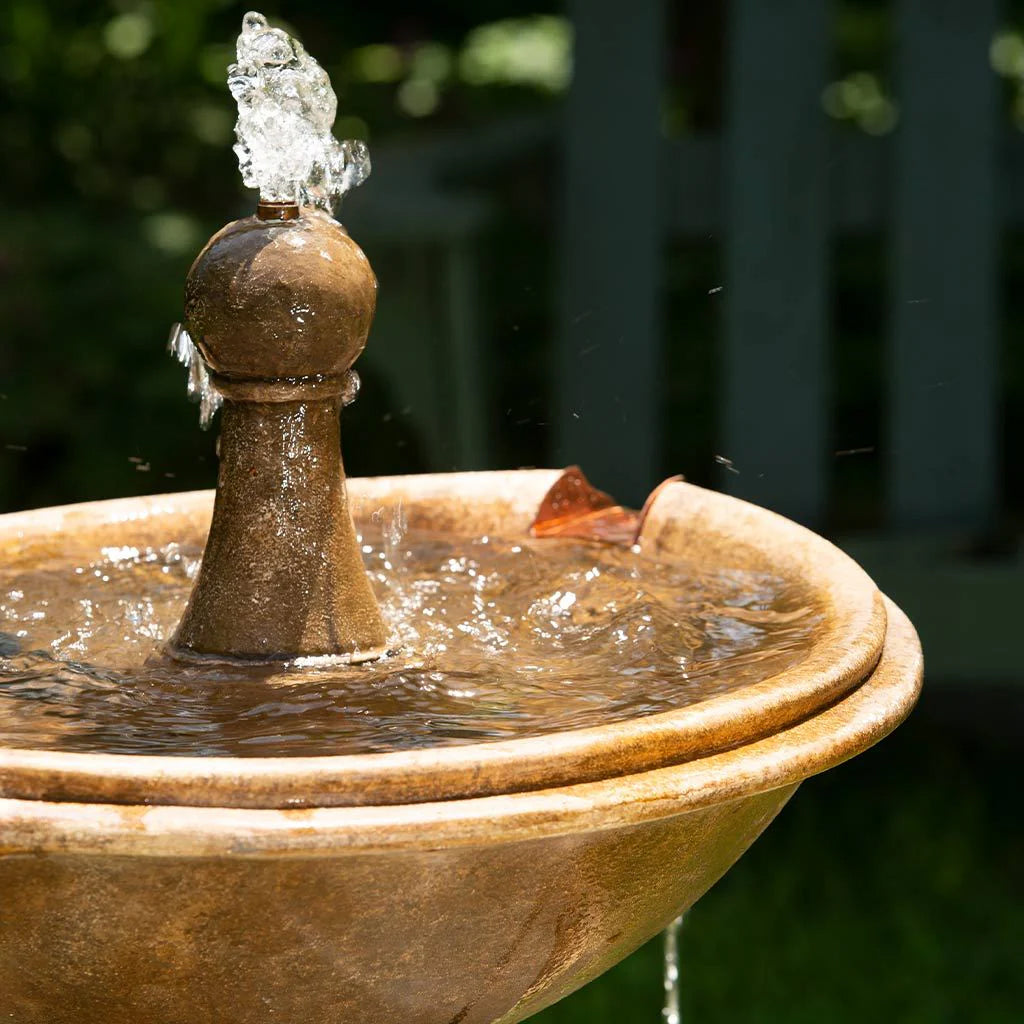
Installing a heavy outdoor fountain starts with proper ground preparation. This guide explains how to dig a shallow footprint, add crushed gravel and paver sand, and level the base so your fountain runs smoothly and evenly.

If a fountain isn’t level, the water will always reveal it.

You might notice water spilling unevenly from one side, a basin that slowly loses water, or a pump that starts making noise because the water level isn’t balanced. None of these problems mean the fountain is defective—they usually mean the ground underneath it wasn’t properly prepared.

The good news is that preparing the base for a fountain isn’t complicated. With a few basic materials—crushed gravel, paver sand, and a level—you can create a stable foundation that will keep the fountain working the way it’s supposed to from day one.


Getting the base perfectly level doesn’t just help with stability—it’s one of the biggest factors in preventing uneven splashing later on.

Cavalli Outdoor Fountain with Fiore Pond

Why Level Ground Matters More Than People Expect

A fountain depends on gravity.

Water flows from one point to another and eventually settles back into the basin. When the fountain sits perfectly level, the water distributes evenly and returns to the pump without spilling or splashing out of the wrong areas.

When it’s even slightly tilted, water begins favoring one side.

This can cause:

  • uneven flow
  • small but constant splashing
  • the basin draining faster than expected
  • unnecessary strain on the pump

Many top selling fountains perform beautifully when installed correctly, but even the best design can’t compensate for a base that’s uneven.

That’s why installers spend more time preparing the ground than placing the fountain itself.

Step 1: Choose the Exact Location First

Before digging anything, decide exactly where the fountain will sit.

Walk around the space and look at it from the angles you’ll see most often—perhaps from a patio chair, the back door, or a garden pathway.

This is especially important for modern fountains, which are often used as visual focal points in contemporary landscaping. A few feet of adjustment can completely change how the fountain looks within the yard.

Once you’re confident about the location, mark the outline of the base with spray paint, a garden hose, or stakes.

Crystal Sphere Fountain Kit

Step 2: Dig a Shallow Footprint

Next, remove the top layer of soil inside the marked area.

You don’t need to dig deep. In most cases, a depth of about 3–4 inches is enough to create a stable base layer.

The goal isn’t excavation—it’s removing soft soil that could shift or settle later.

Try to keep the bottom of the area relatively flat as you dig. Perfection isn’t necessary at this stage because the gravel layer will help correct minor variations.

Borghese Garden Water Fountain in Basin

Step 3: Add Crushed Gravel for Stability

Once the shallow footprint is prepared, add a layer of crushed gravel.

Gravel serves two important purposes:

  • It improves drainage
  • It prevents the ground from shifting under the weight of the fountain

Spread about 2–3 inches of gravel across the base and tamp it down firmly. A hand tamper works well for this, but even the flat side of a shovel can help compact the material.

For larger fountains or installations using fountain basins, this step is especially important. The gravel creates a firm base that supports the weight evenly instead of letting the fountain sink into the soil over time.

Step 4: Add a Thin Layer of Paver Sand

After the gravel is compacted, add about one inch of paver sand on top.

The sand layer acts as the fine adjustment layer. While gravel provides strength, sand allows you to make precise leveling corrections before placing the fountain.

Spread the sand evenly and lightly smooth it with a straight board or trowel.

At this point, the surface should already look relatively flat.

Step 5: Check the Level Before Placing the Fountain

Before setting the fountain or basin in place, check the base with a carpenter’s level.

Place the level across the surface in multiple directions:

  • front to back
  • left to right
  • diagonally

If you notice any low areas, add a small amount of sand and smooth it out. If one side is slightly high, gently remove a little sand from that area.

Taking time here prevents problems later.

Step 6: Carefully Set the Fountain Basin

With the base prepared, the next step is placing the fountain basin or base piece.

Heavy fountains usually require two people for this step. Lift the piece evenly and lower it slowly onto the prepared surface.

Once it’s sitting in place, check the level again—this time on the actual basin.

Even a well-prepared base may need small adjustments once the weight is applied. If the level shows a slight tilt, lift one side carefully and add or remove a small amount of sand beneath it.

Take your time here. A few minutes of adjustment now can prevent years of uneven water flow.

Step 7: Final Stability Check

After confirming the basin is level, gently press around the surrounding soil or gravel to ensure everything is compact.

Some installers like to backfill around the base with decorative gravel or small stones. This helps the fountain blend into the landscape and adds extra stability.

Once the basin is secure and level, you’re ready to assemble the remaining fountain pieces and install the pump.

Why Proper Preparation Makes a Big Difference

A well-prepared base does more than keep the fountain straight.

It also helps:

  • prevent settling after heavy rain
  • reduce vibration or movement
  • maintain even water circulation
  • protect the pump from running dry on one side

Many installation problems that appear later—uneven splashing, water loss, or noise—often trace back to a base that wasn’t level from the start.

Spending a little extra time on the ground preparation step prevents those issues almost entirely.

A Small Step That Protects Your Investment

Heavy outdoor fountains are designed to last many years, but their performance depends on the surface beneath them.

Whether you’re installing one of the newer modern fountains, placing a custom setup with fountain basins, or setting up one of the top selling fountains used in many backyard landscapes, the foundation always matters.

Fortunately, creating that foundation doesn’t require special equipment or professional installation. A shallow excavation, a few inches of gravel, a layer of sand, and careful leveling are usually all it takes.

Once the fountain is sitting level and the water begins flowing evenly, you’ll immediately see why this preparation step is worth the effort.

Because when the base is done right, the fountain simply works—and all you hear is the sound of water.